Creating R / Python templates for the NIH Integrated Data Analysis Platform (NIDAP)
Learning Objectives
Following this lesson, attendees should be able to:
- Use NIDAP to run R- or Python-based Code Transforms
- Be able to convert Code Transforms to Templates
- Create custom Pipelines using Code Transforms and Templates
What is NIDAP?
NIDAP is the NIH Integrated Data Analysis Platform (NIDAP).
NIDAP is an innovative, cloud-based, collaborative data aggregation and analysis platform that hosts user-friendly bioinformatics workflows and component analysis and visualization tools developed by the NCI developer community based on open source tools and makes them immediately available to biologist end-users across NIH.
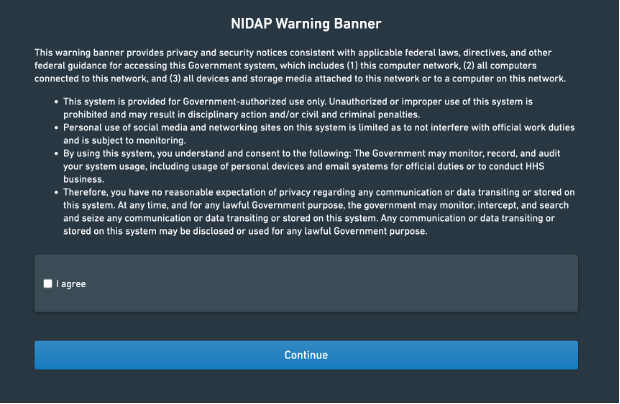
You can access NIDAP at https://nidap.nih.gov, where you will be asked to log in using your NIH credentials (PIV card), and you will be greeted by a Warning Banner:
Note
If this is your first time, you will be asked to complete a registration form (mostly to make sure correct permissions are applied, so you can access your lab folder).
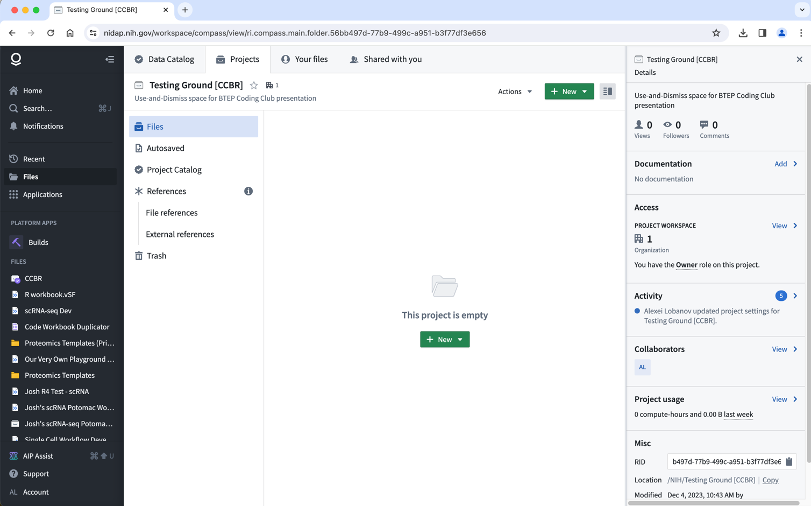
Here is an example of the landing Page:
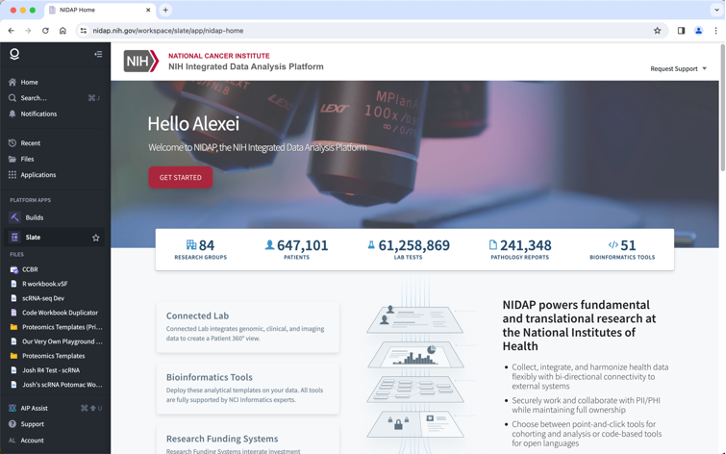
The dark-grey panel on the left contains useful links to places and applications. You can hide (and unhide) it as needed.
Why use NIDAP?
NIDAP
- is cloud-based, expandable, and flexible.
- is collaboration-oriented; the workbook could be shared with other users.
- has point-n-click connections, requiring no coding experience to use.
- can be used with pre-built templates or you can build-your-own templates.
As with any other tool, NIDAP may (or may not be) the best tool for your data analysis needs. We encourage you to check it out, to see if it fits your requirements. If you regularly use the same scripts or have a team collaborating on the same project, creating/customizing a pipeline on NIDAP can help you streamline the process.
Mini Disclaimer
The goal of this presentation is not to make you an expert "template maker", but rather to show you the possibilities.
Pipelines, AIP assist
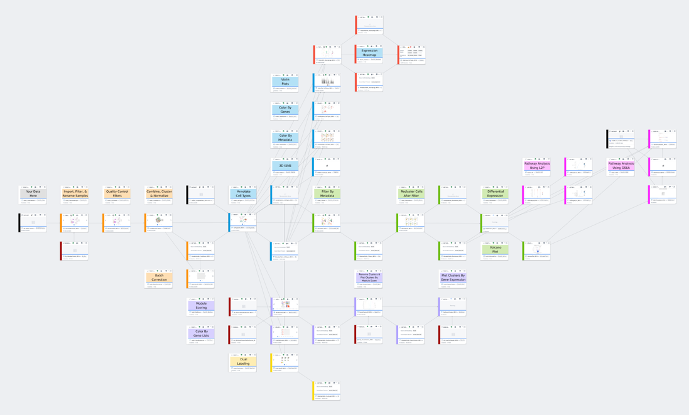
CCBR has created (and continues to improve) Bulk-RNAseq, Single Cell RNAseq and DSP Pipelines (see LINKS section) that can be used by users with no coding experience:
Use the “Support” link to get access to Documentation and Academy (tutorials).
The other way to access Palantir/Foundry documentation is to use AIP Assist – (AIP stands for Artificial Intelligence Platform), which uses a ChatGPT-like helper script (use left panel to launch it):
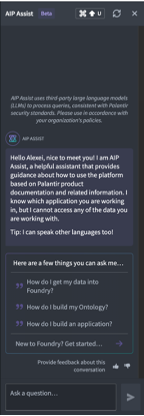
Note
The AIP Assist was created to help with Documentation searches, so it might struggle with General Knowledge questions (such as “What is the meaning of life?”, “Who will become the next US president?”, “How to win a Nobel Prize?” and so on).
Working with NIDAP: Projects, Folders, Workbooks
Once you are inside your Lab’s FILES, it is a good idea to create a new folder for your project. Please use the green + NEW button in the upper right part of the screen:
Your new folder will be empty, so you may want to fill it with some data. This can be done either through file upload or through manual entry.
File upload can be acheived using the same green button you used to create a new folder (choose Upload files option this time), or by drag-n-dropping files into your space:
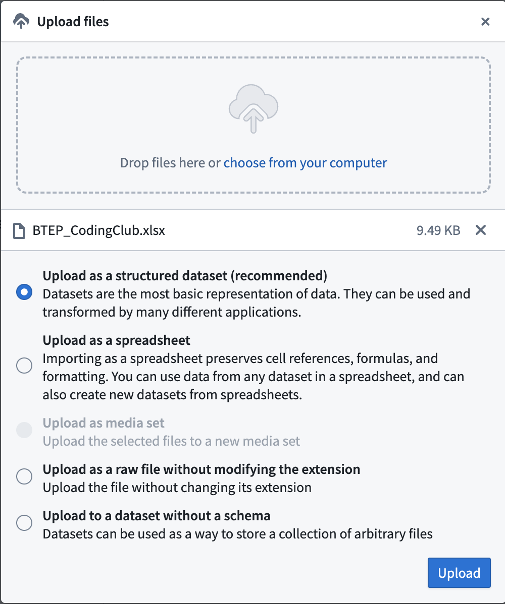
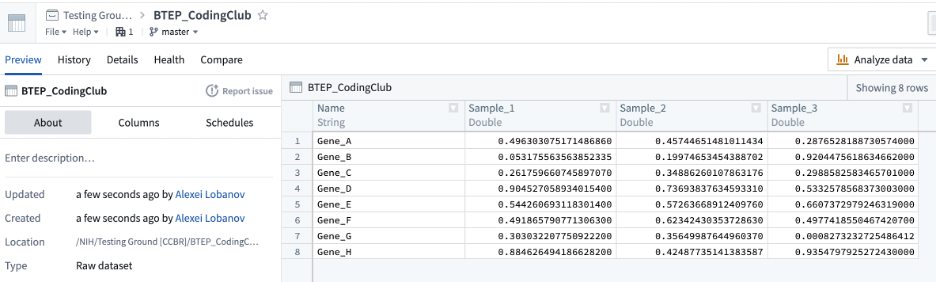
The system can recognize most common formats (TXT, CSV, XLSX, etc.). The main “working unit” is a so-called structural dataset – for our intents and purposes, this is essentially an R data frame.
Dataset:
However, there are instances when you may want to have “a dataset without a schema”:

This way you can keep several files within one dataset, or use files that can't be “structured” as data frames (e.g., gzip archives, Seurat objects, pdf files).
Feel free to rename datasets to your liking (actually, this is a good practice!).
Working with NIDAP: Code Workbooks, imports, manual entry
To create a new Code Workbook, once again use the now-familiar green + New button, but this time please choose Code Workbook option. You may have to scroll down a little to see it. Feel free to Import Dataset (if you already have it uploaded) or click Skip this step grey text below the button.
Your new workplace will be empty – let’s populate it:
- Use the
Import Datasetbutton to add the dataset we uploaded earlier. - Use the
Manual Entrybutton to type in your data (or copy and paste it) into an Excel-like table. - Use the
New transformbutton to add a Python or R-based code, or to import an existing template.
Working with NIDAP: Environments, Code Transforms, Templates
You can go back to your original folder at any time by clicking on a link in the upper left corner. You can also create multiple branches of the same workbook (default is called “master”) or duplicate it to a new workbook by clicking on a cogwheel and selecting Duplicate branch in a new workbook command.
You can also change the Environment (different environments have different packages pre-loaded, as well as varying system resources) or customize one to your needs. The default Environment is called, “Default”.
If you choose to add a new template to your workbook, a search window will pop up:

Type the name (or a part of it) of the template in the first line (Search all templates) if you don’t see it in your list of Recent templates.
Let’s create a new R code block:

The main difference between Code Transform and Template is a presence of a GUI (in templates) and editing options.
Code transform outputs: Logs, Preview, Visualizations
On the screenshot above, you can notice several tabs (on the bottom of the page):
Logic shows the code (or GUI), Inputs lists other datasets linked to this block, Preview will display your dataset (usually as a table, or as a container with files), Visualization shows images generated during the run, and Logs contains text output, as well as errors and warnings.
MultiVis allows presenting several images in one template, use the left- and right-arrows to circle through them. The dataset that is being returned (with return() command) is displayed in `Preview`` tab – currently (Dec 2023), only one dataset can be shown.
Converting Code Transform to Template:
Making a template out of your Code Transform provide:
a) a GUI interface for changing parameters,
b) version history,
c) discoverability.
Use the Action|Create template command to switch to the Template Editor (you can use the Action|Convert to code transform command to change template to code transform):
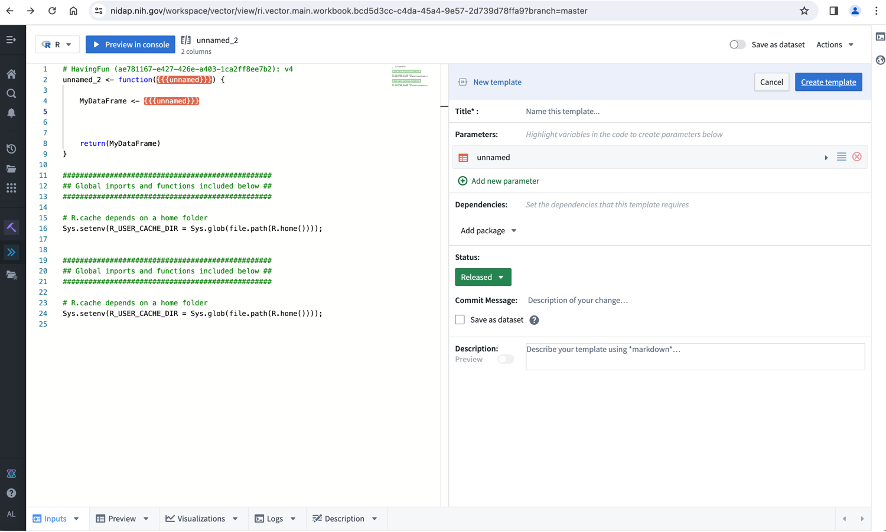
Edit your code (left panel) if needed, and add your parameters (right panel) as desired.
There are several types of parameters that can be used in your template:
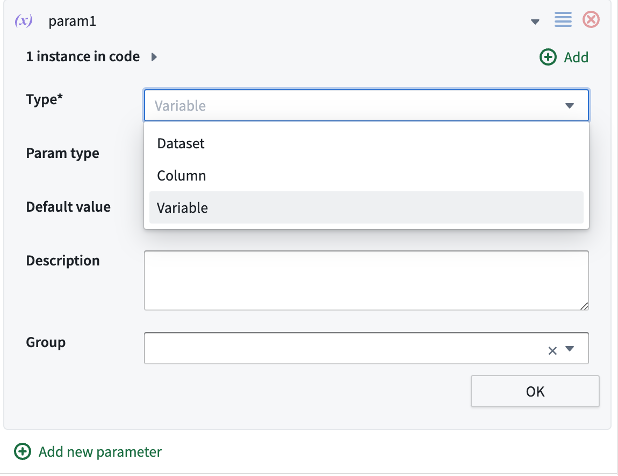
- `Dataset`` is a link to another template/CodeTransform
- `Column`` is a dynamically populated list of columns in the dataset of your choosing
- `Variable`` is essentially everything else: Text, Number, Boolean.
Save your Template in your (or shared) folder for further use, so that it can be added using the New transform button. Once loaded, you can switch between the code and GUI by clicking the Toggle view button.
Extras: Multinode templates, R console, Best Practices
You can merge several existing templates into one “Multi-Node” template (some parameters are shared across all templates). To do that, select your pre-arranged templates, right-click on one of them and choose the Create template option.
If you select your code (or part of it) and press Command+Shift+ENTER (on Mac) or Control+Shift+ENTER (on Win), you will launch an execution of your command in “Console”, which can also be opened manually by clicking on the top of the bar on the right side of your screen.
You can get a copy of your code by clicking on the cogwheel and selecting the Export git repository option.
We highly recommend grouping your libraries and your parameters into blocks preceding your main code block to make code transfers to other platforms easier:
## --------- ##
## Libraries ##
## --------- ##
library(dplyr)
library(tidyr)

## -------------------------------- ##
## User-Defined Template Parameters ##
## -------------------------------- ##
input=Input_Dataset
organism = "Human"
keep = TRUE

## --------------- ##
## Main Code Block ##
## --------------- ##
Helpful Links
Accessing NIDAP
Questions and support
CCBR Office Hours
Open to CCR Biologists
Topics range from projects to scientific discussions, etc.
NIDAP Office Hours
Open to Developers
Topics include development questions, projects, scientific discussions, etc.
NIDAP workflows
https://bioinformatics.ccr.cancer.gov/ccbr/education-training/nidap-training/
NIDAP overview slides
https://bioinformatics.ccr.cancer.gov/docs/analyzing-data-without-coding-event/NIDAP/NIDAP_Overview/